
How To Do Downward Dog Pose Correctly: Improve Your Yoga Practice
How To Do Downward Dog Pose Correctly: Improve Your Yoga Practice
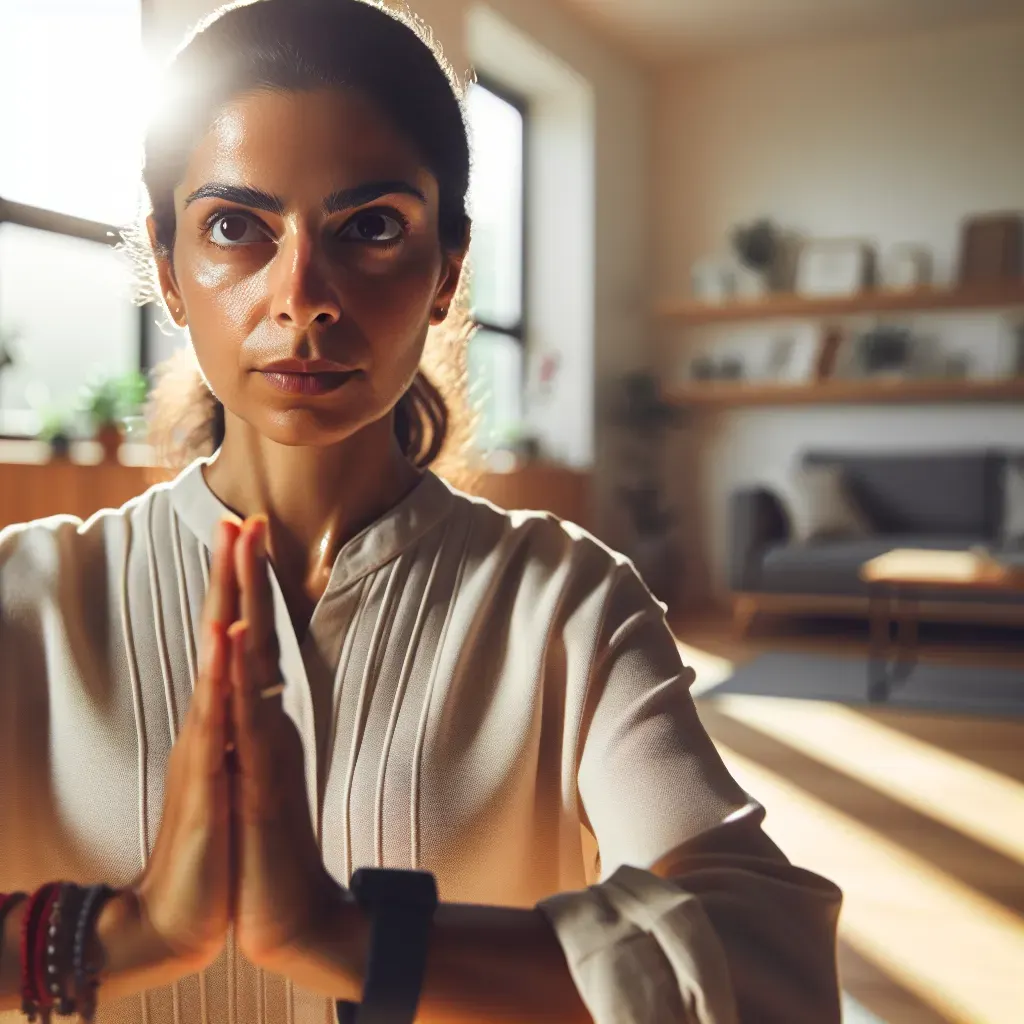
Are you tired of feeling like your downward dog is more of a downward struggle? Maybe you've been hitting the yoga mat, trying to nail that pose, but it feels like you're just floundering in a sea of uncertainty. You're not alone, friend.
Picture this: you're in class, surrounded by bendy folks seemingly effortlessly gliding into the perfect Downward Dog, while you're over here feeling like a lopsided pretzel.
But hey, take a breather, because I get it. I've been there, wondering if my yoga practice was ever going to level up. It's frustrating, isn't it? You're putting in the effort, but the results just aren't showing up.
Well, let me tell you something straight up - you're not doomed to a downward spiral forever.
Let's flip the script. How about we ditch the frustration and get you on the path to Downward Dog mastery? Yeah, you heard me right. Mastery. Because that's exactly what we're aiming for.
No more wobbly limbs or confused gazes in the mirror. It's time to step into your power and rock that pose like a boss.
So, if you're ready to kick those doubts to the curb and finally unlock the secrets of the perfect Downward Dog, then buckle up, my friend. We're about to embark on a journey that's going to transform your yoga practice from meh to marvellous. Let's begin.
Preparation (Week 1)
A. Research and Gather Resources
Alright, let's kick things off with Week 1 - the prep phase. You wouldn't build a house without a blueprint, right? The same goes for nailing your Downward Dog.
First up, we're diving headfirst into the world wide web. Hit up those yoga tutorials online like it's your job. Watch, learn, absorb. It's like having a personal yoga instructor at your fingertips.
Now, I know what you might be thinking: "But aren't online tutorials a bit... impersonal?" Sure, they might not be able to adjust your form on the spot, but think of it this way - you're getting a sneak peek into the secrets of the yoga masters, all from the comfort of your living room.
Plus, you can hit pause whenever you need to catch your breath or untangle yourself from your yoga mat. It's a win-win, right?
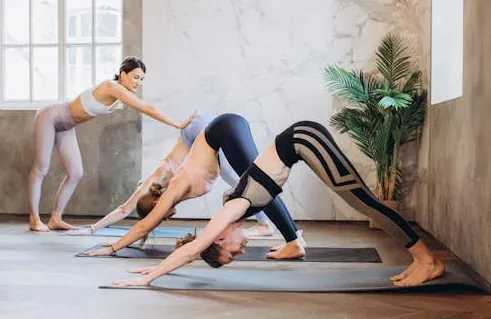
Next stop: yoga classes. Yep, time to roll out that mat and get ready to mingle with fellow yogis. Find classes that focus on Downward Dog specifically. Trust me, being in a room full of people all striving for that perfect pose is a vibe like no other.
Plus, you've got a real-life instructor right there in front of you, ready to guide you through every twist and turn. Can't beat that kind of hands-on experience.
B. Attend Yoga Classes or Workshops
So, you've signed up for a yoga class. High five! Now it's time to get down to business. Pay close attention to your instructor as they break down the intricacies of Downward Dog.
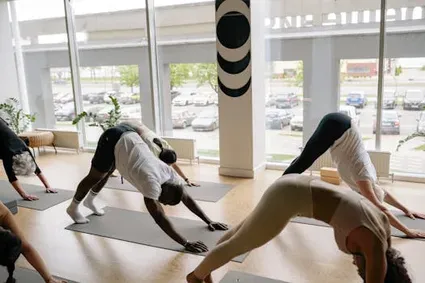
They'll show you how to align your body just right and give you handy modifications for when things start feeling a bit wonky.
Feeling a bit self-conscious about your yoga skills? Don't sweat it. Everyone's gotta start somewhere, right? Your classmates are too busy focusing on their poses to worry about what you're up to.
And hey, if you're still feeling a bit unsure, just remember - nobody's perfect. Embrace the wobbles and the wiggles. It's all part of the journey.
C. Gather Necessary Equipment
Last but not least, let's talk gear. You don't need a fancy yoga studio or a wardrobe full of designer activewear to rock your Downward Dog. All you need is a trusty yoga mat and maybe a couple of blocks or props for those trickier poses.
Think of them as your trusty sidekicks, ready to support you on your yoga adventure.
So, hit up your local sports store or jump online and snag yourself some gear.
Trust me, investing in the right equipment can make all the difference. Plus, who doesn't love an excuse to buy some new yoga swag?
Understanding The Basics (Week 2)
A. Focus on Alignment
Welcome to Week 2 - where we're diving deep into the nitty-gritty of Downward Dog. First things first, let's talk alignment. Picture yourself as a little yoga detective, sleuthing out the perfect position for your body.
Hands, feet, spine - these are your main players. Align them just right, and you'll feel like you're floating on air.
But here's the kicker: it's not just about lining things up like you're playing a game of yoga Tetris. Nope, it's about engaging different parts of your body to create that solid foundation.
Think of it like building a house - you wouldn't want wonky walls or a crooked roof, right? The same goes for your Downward Dog.
B. Explore Modifications
Now, let's talk about modifications. We're all built differently, which means what works for one person might not work for another. And that's okay. Embrace your uniqueness, my friend.
If your hamstrings are tighter than a drum, grab those blocks and give yourself a little boost.
Can't quite reach the ground with your palms? No problem - bend those knees a bit and take the pressure off.
Remember, there's no shame in modifying. It's a sign of wisdom to know your limits and work within them.
C. Practice Breathing Techniques
Ah, the breath. It's the secret sauce that takes your yoga practice from good to great. So, let's talk about incorporating proper breathing into your Downward Dog.
Close your eyes and take a deep breath through your nose. Feel your belly expand like a balloon filling with air. Now exhale slowly, letting all that tension melt away.
See? It's like a mini vacation for your mind and body.
Now, here's the kicker: the breath isn't just something you do on the side while you're striking poses.
It's an integral part of the practice itself. Think of it like the soundtrack to your yoga flow - smooth, steady, and oh-so-soothing.
So, as you sink into your Downward Dog, don't forget to tune into your breath. Trust me, it'll take your practice to a whole new level.
Refinement And Practice (Weeks 3-4)
A. Daily Practice Routine
Alright, folks, welcome to the final stretch - Weeks 3 and 4. This is where the magic happens. It's time to roll out that mat and get down to business.
First things first, consistency is key. Set aside some time each day to practice your Downward Dog. It doesn't have to be a marathon session - even just a few minutes can make a world of difference.
The key is to show up, day in and day out, and watch those improvements stack up like a tower of yoga blocks.
B. Seek Feedback
Now, let's talk feedback. Sure, you might think you've got this Downward Dog thing down pat, but there's always room for improvement. That's where feedback comes in.
Hit up those yoga classes regularly and don't be afraid to ask your instructor for some pointers. They've got a keen eye for spotting misalignments and can offer some handy tips to take your practice to the next level.
And hey, don't forget about your fellow yogis. They're in the same boat as you, so why not team up and give each other some feedback? It's like having your cheer squad, rooting you on every step of the way.
C. Monitor Progress
Time to bust out that journal, folks. We're talking progress tracking 101. Keep tabs on how your Downward Dog is shaping up - note any improvements in flexibility, strength, or overall badassery.
And hey, don't get discouraged if progress feels slow at first. Rome wasn't built in a day, and neither is the perfect Downward Dog.
Celebrate those small victories along the way - maybe you held the pose for an extra breath or finally touched your heels to the ground. Every little win is worth celebrating, so don't sell yourself short.
D. Adjust and Modify
Flexibility is the name of the game, my friend. So, don't be afraid to mix things up and experiment with different variations and adjustments.
Maybe you try widening your stance a bit or playing around with your hand placement. The beauty of yoga is that there's no one-size-fits-all approach. It's all about finding what works best for your body at that moment. So, get curious, get creative,
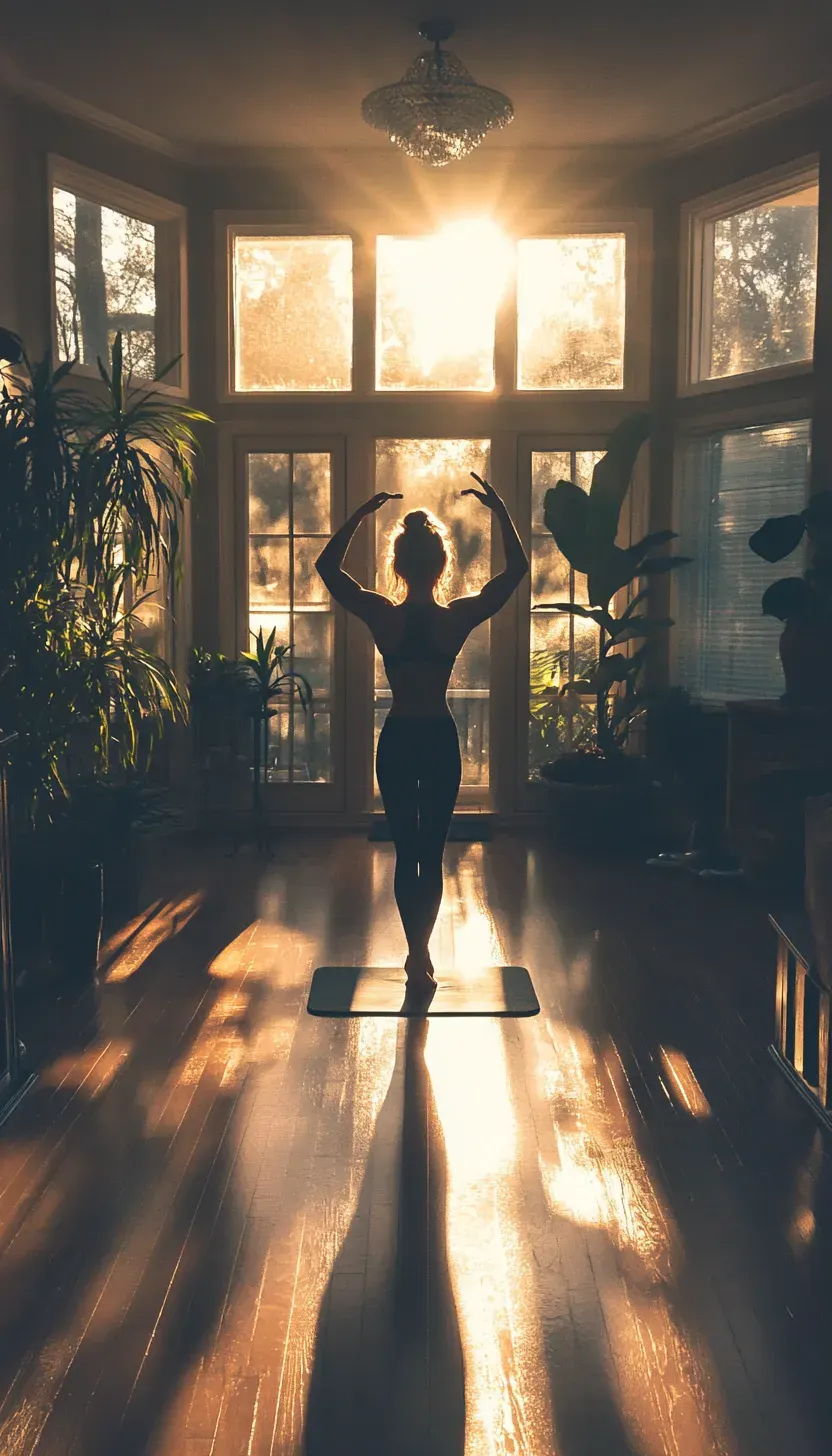
Master Your Downward Dog

Feeling a bit overwhelmed by the thought of perfecting your Downward Dog? Hey, I hear you loud and clear. It's easy to get caught up in the hustle and bustle of everyday life, let alone trying to master a new yoga pose.
You might be thinking, "Is it worth all the effort?" Well, let me tell you, my friend, it is.
Think about how far you've come already. From those wobbly first attempts to now, where you're standing strong and confident in your Downward Dog.
That's no small feat. So take a moment to pat yourself on the back - you've earned it. But here's the thing - the journey doesn't stop here. Nope, this is just the beginning.
By honing your Downward Dog skills, you're not just improving your yoga practice - you're enhancing your entire life. You'll walk a little taller, breathe a little deeper, and face whatever life throws your way with grace and ease.
So, as you roll up your yoga mat and head out into the world, remember this: you're a warrior, a rockstar, a Downward Dog dynamo. Keep showing up, keep putting in the work, and watch as your practice blossoms into something truly magical.
And hey, if you ever need a little boost along the way, just remember - I've got your back. Now go out there and show the world what you're made of. You've got this!
People Also Asked
1. What is the Downward Dog pose, and why is it important in yoga?
Downward Dog pose, or Adho Mukha Svanasana, is a foundational yoga pose that stretches and strengthens the entire body, improving flexibility, posture, and core stability.
2. I'm a beginner. How do I know if I'm doing the Downward Dog pose correctly?
Proper alignment is key. Ensure your hands are shoulder-width apart, feet hip-width apart, and hips lifted towards the ceiling while pressing heels towards the ground. Keep a straight spine and engage your core muscles.
3. I have tight hamstrings. Can I still do the Downward Dog pose?
Absolutely! Modify the pose by bending your knees slightly or using yoga props like blocks to support your hands. With consistent practice and patience, your flexibility will improve over time.
4. How can I make the Downward Dog pose more comfortable for my wrists?
Distribute your weight evenly across your hands, spread your fingers wide, and press firmly into the mat. You can also try using a folded towel or yoga mat under your wrists for additional support.
5. I struggle with balance. Any tips for staying steady in the Downward Dog pose?
Focus on grounding through your palms and feet, engaging your core muscles for stability. Experiment with widening your stance or slightly bending your knees to find a comfortable and balanced position.
6. How long should I hold the Downward Dog pose during my yoga practice?
Aim to hold the pose for 5-10 breaths, gradually increasing the duration as your strength and flexibility improve. Listen to your body and modify or come out of the pose if you feel any discomfort.
7. Can the Downward Dog pose help relieve back pain?
Yes, it can. The downward Dog pose stretches the entire spine, hamstrings, and shoulders, relieving tension and promoting better posture. However, if you have chronic back pain, consult with a healthcare professional before attempting yoga poses.
8. I'm pregnant. Is the Downward Dog pose safe for me to practice?
It depends on your comfort level and stage of pregnancy. Avoid compressing the abdomen and modify the pose by using props or practising against a wall. Consult with your healthcare provider before practising yoga during pregnancy.
9. Is the Downward Dog pose suitable for seniors?
With proper modifications and guidance, the Downward Dog pose can be adapted for seniors to improve mobility, strengthen muscles, and maintain joint health. Consult with a qualified yoga instructor for personalized guidance.
10. How often should I practice the Downward Dog pose to see improvements?
Consistency is key. Aim to practice Downward Dog pose at least 3-5 times per week, gradually increasing the frequency and duration as you progress. Remember to listen to your body and take rest days as needed for recovery.